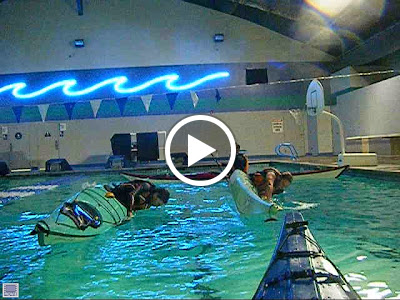
Last Thursday night we headed to the pool for roll practice. We have been going regularly since last October, either to practice rolling, practice rescues, or to practice strokes, edging and bracing, all in the comfort of a warm heated pool.
I was able to get my first roll last October with the help of my dad over two pool sessions. KK2 is still patiently waiting for his roll to come and is still as bound and determined as ever to nail it.
It has been eight long months of trial and error. The most frustrating part has been in modifying his boat. With each new modification we thought "Finally, we have it! This is gonna work!", only to find out at the next pool session that yet more tweaking needed to be done. Ugghhh!
So how do you roll a kayak without legs and shorter arms you may ask? Well... we are still trying to figure that one out. The biggest problem he had was staying in the boat. Even with legs you need a thigh brace to press against to keep you in position, without legs and having a wide open cockpit the first thing that is going to happen when you go over, sprayskirt or not, is you are going to fall right out. We found this to be just as problematic when attempting an assisted bow rescue. He would reach for the bow of the assisting boat and slide right out of his kayak.
To remedy this problem we knew we had to make the space inside tighter, tight enough to keep him in but not too tight as to restrict him from being able to wet exit if needed. This balance proved to be hard to find.
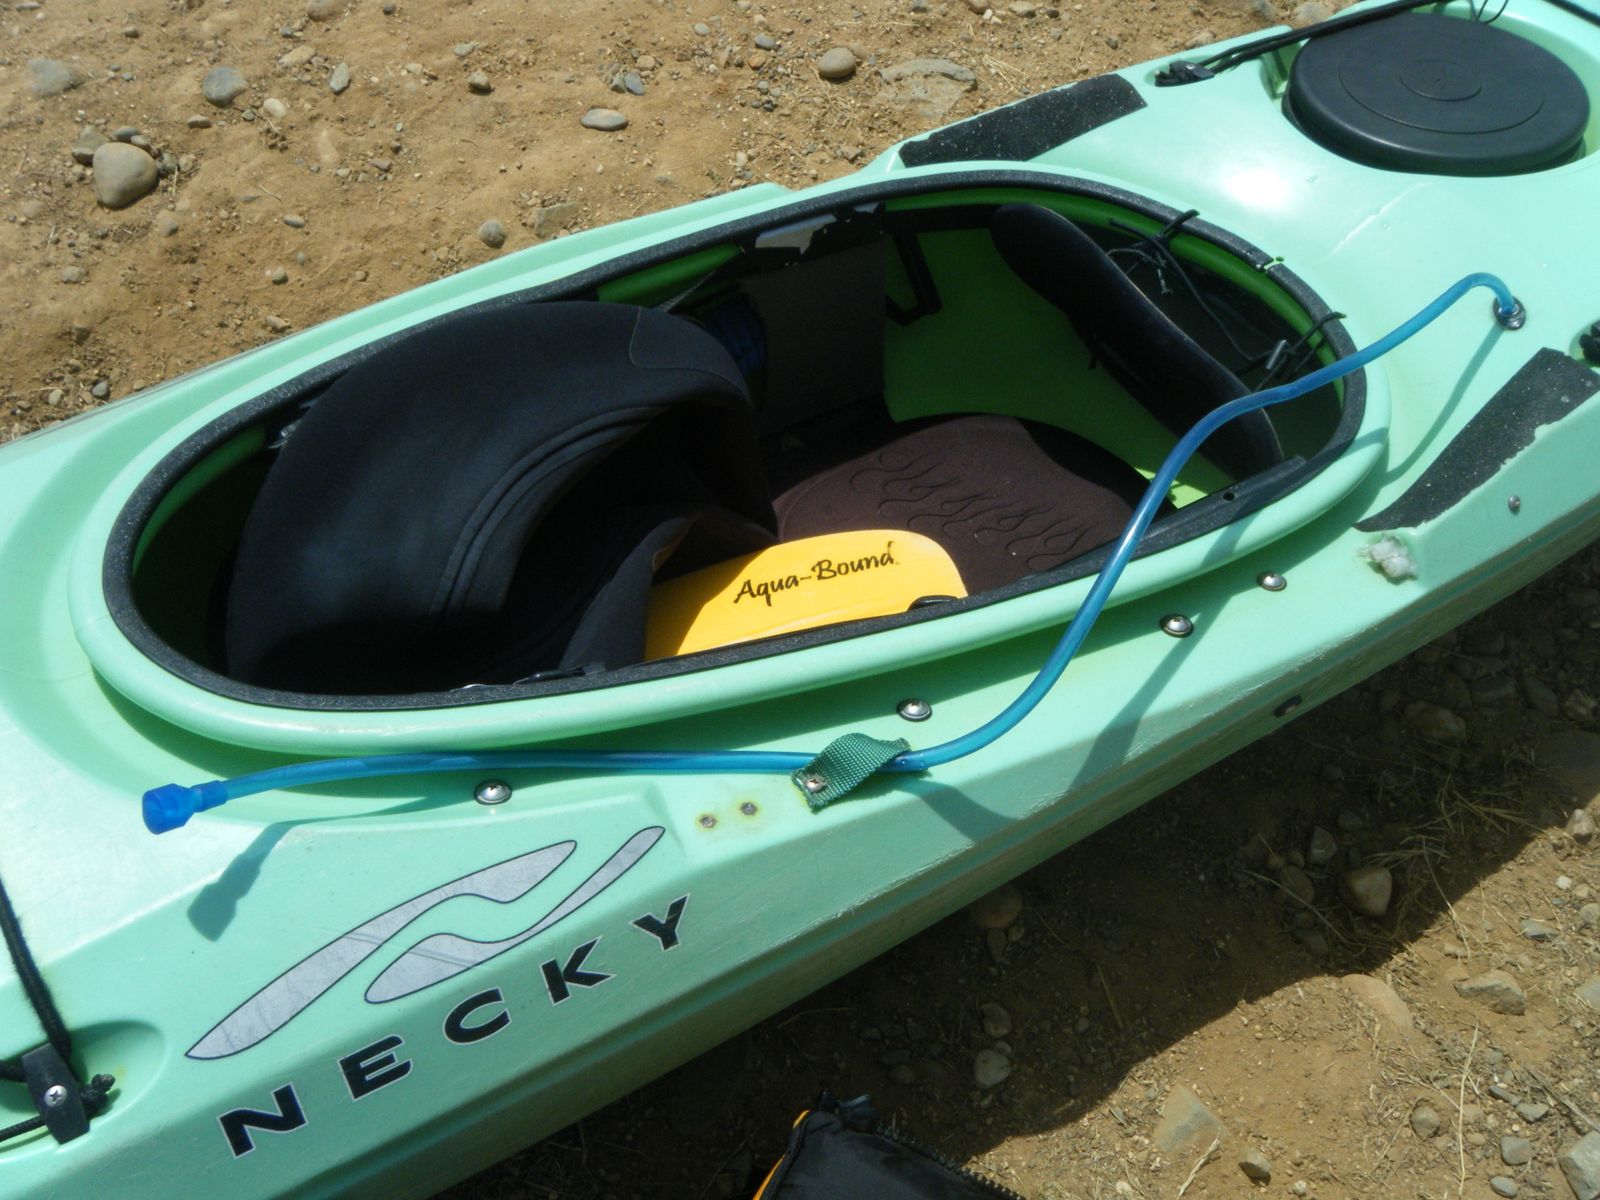
To start we found a board to place in front of him. We measured the inside of the cockpit and cut the board so that it fit snugly. We sanded, then sealed the board with a few coats of marine quality varnish and set it in place. Next we secured the board by bolting in a 1 1/2 inch piece of aluminum angle iron cut to length. Then we added a thin layer of foam to the front of the board for comfort and cushioning. We attached it with Velcro so that it can easily be replaced if it gets too worn.
Now it was time to pad the rest of the cockpit, so we headed to
California Canoe and Kayak for outfitting foam and lots of it! We depleted their stock a few times before our project was complete (knock on wood). They also gave us a discount because we bought so much of it! Love you guys!
Dragon Skin also became out best friend. It works great for moulding the foam to the size and shape you desire.

We glued foam to the sides of the kayak shaping it to fit his body as much as possible. Of course this required some trial and error to get the shape right and keep him evenly seated in the middle (Which reminds me of a story for another time about testing any new modifications in a pool or calm lake before heading out to test your skills in the ocean on the day after Christmas... Oops! Splash! Brrr!!!).
Finding the right glue also became a challenge. Some turned to milk when wet, others just peeled away, even though all were said to be waterproof and for use with plastic and foam. We found that the best glue to use was
Barge Cement. That stuff holds up amazingly well!
After the sides were completed we wedged big pieces of foam into the back behind the seat because when he was upside down the seat would move up and he could slide and turn underneath it.
Looking good, right!? Think we are finished? Not!
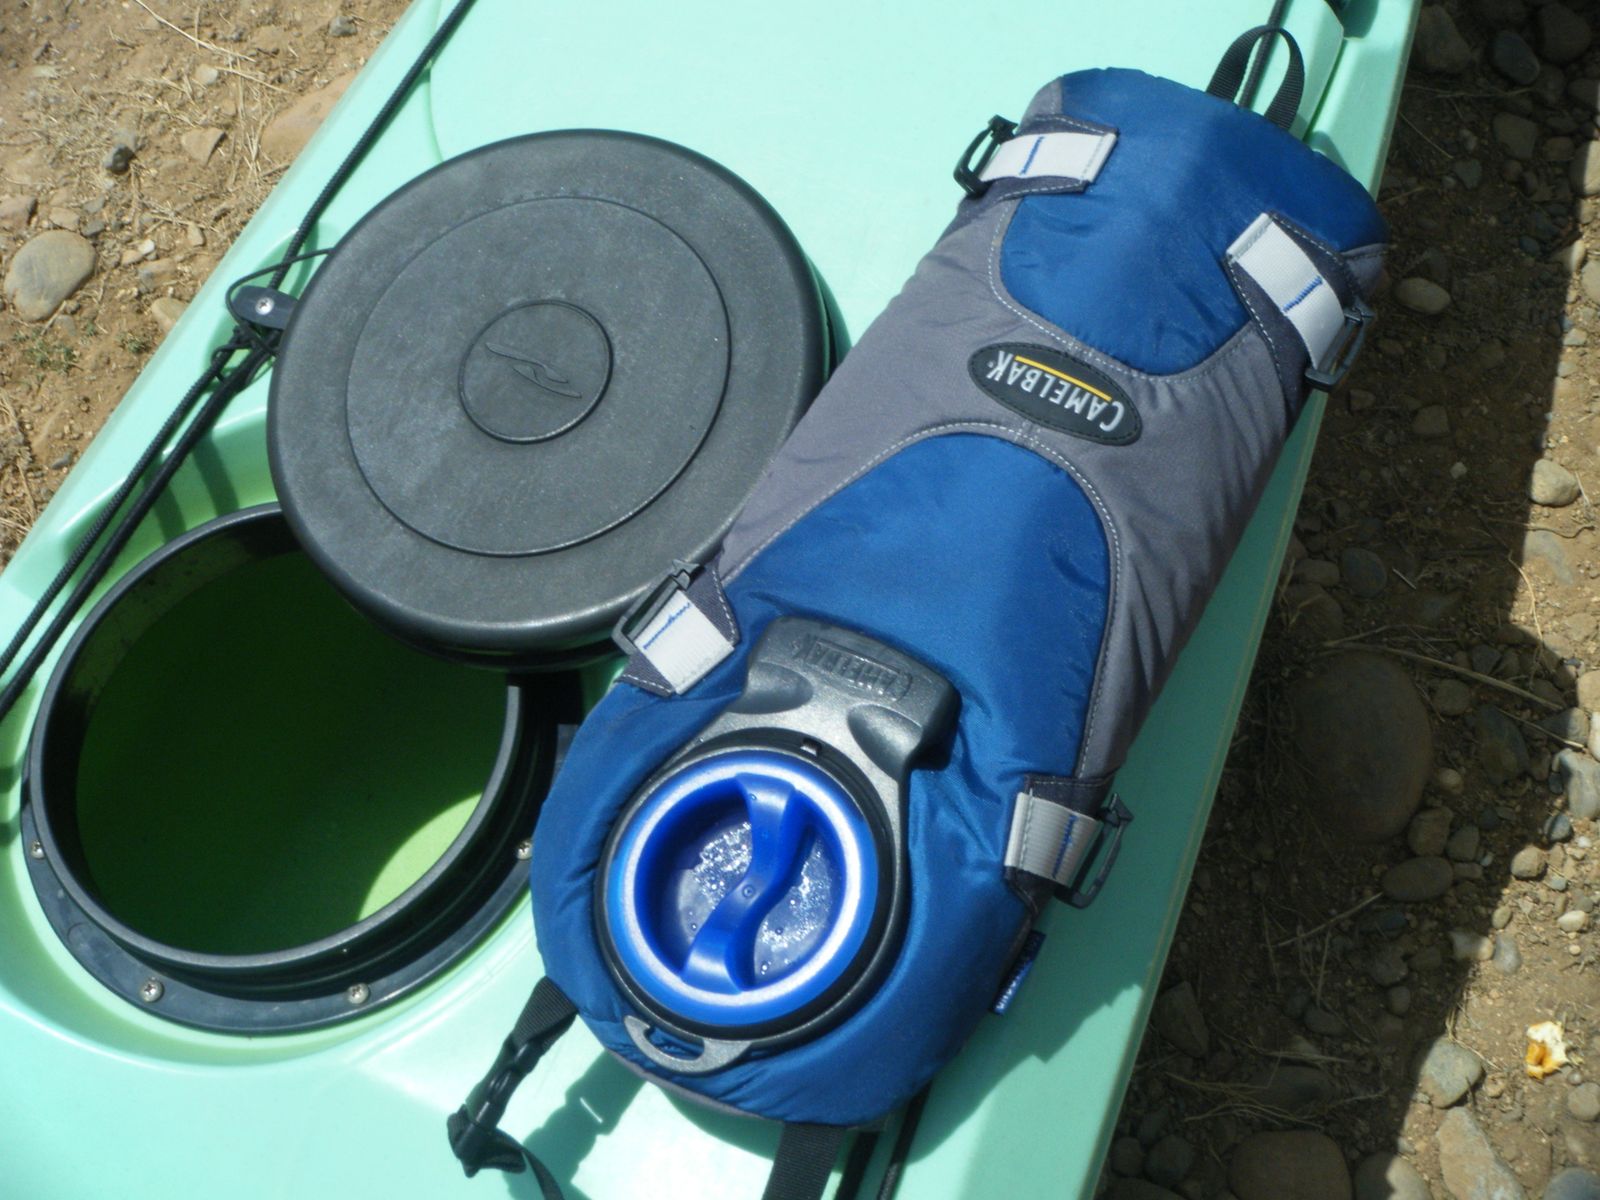
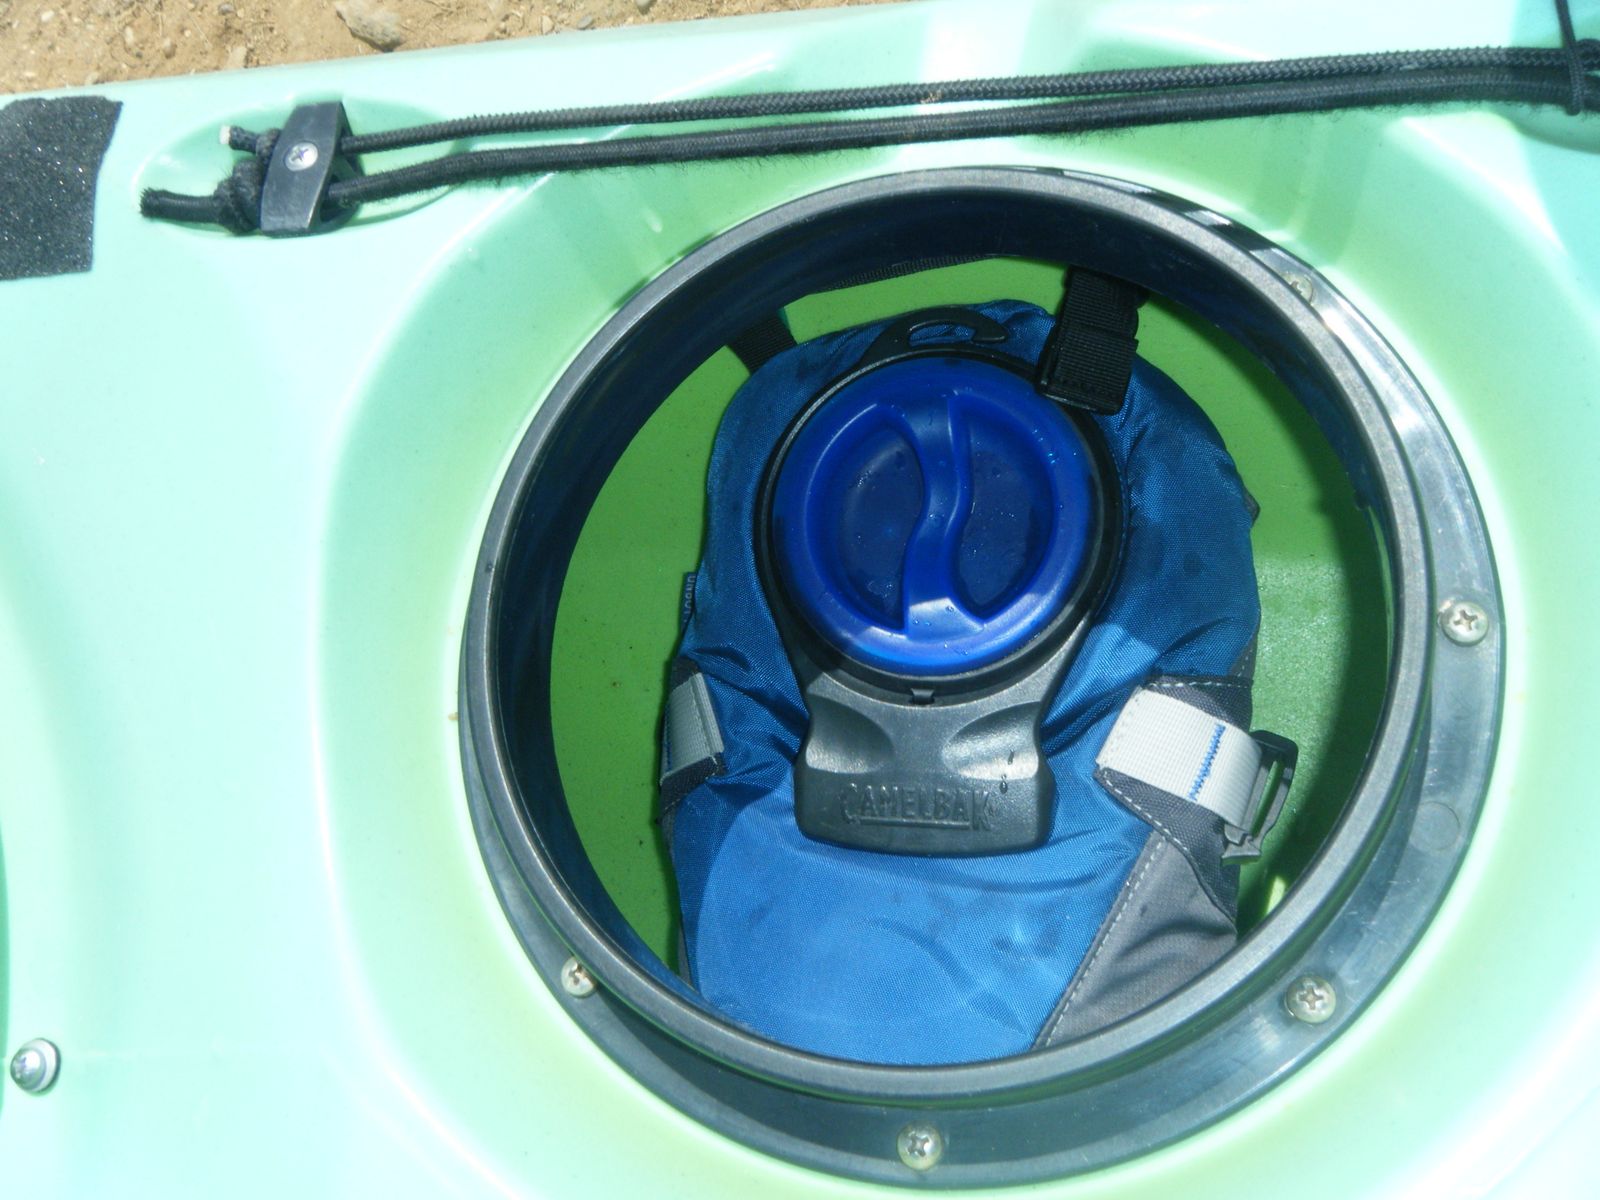
My dad had a great idea to make use of the extra cockpit space and to limit the amount of water that would need to be drained in the event of capsize. He found a plastic welder to weld a piece of plastic on top of the open cockpit. We got some poster board and created a template for them including a hole to insert a hatch cover. To prep the boat for the welders, we glued foam to the top of the board to give the plastic a good fit and glued thin foam to the around the bottom and sides of the board and the kayak to prevent water from coming into the new hatch from the cockpit.
This hatch has proved to be very useful. It can hold a lot of stuff and is easily accessible. The sprayskirt also fits nicely over it so we did not need to create a new sprayskirt and he doesn't have to go without one. Now he can fit a lot of gear in his kayak, which I am more than willing to let him carry, after all the extra weight in front will help balance out the kayak making up for the lack of leg weight, right? That's what I keep telling him anyways.
Even after all of this, he was still turning inside the boat, so we added small triangles of foam to the corners behind the seat. Then we found the seat would still flip up and he could twist underneath it, so we wedged in more foam behind the seat closing off any gaps making it harder for the seat back to move and flip. We used silicone sealant to seal around the board and plastic, but it still seems to leak in places so this will be a continued project until we get it right.
Now that we have the boat looking and feeling great, it's time to get the roll down!
My dad has been working with KK2 from the beginning, he is a wonderful teacher, always patient and optimistic. Just as with the boat, there has been much trial and error in figuring out how best to do the roll. KK2 is mostlty ambidextrous. Determining which side is dominant depends on what he is trying to accomplish as both of his arms are shorter than most peoples and each has different levels of dexterity. His wrists and elbows do not move the same as most peoples and each one moves at varying dgrees and angles. This made it difficult to determine which side we should work on first. We finally determined to start with his left side. As I am right handed and haven't found my offside roll yet, this means we won't be able to roll a double kayak, or divorce boat as they call them, anytime soon. Which is fine as we love the freedom of having our own kayaks and being able to talk and see eachother on the water and be able to go where we want when we want.
Next we had to figure out what sort of stroke to use. Too much of a sweep or skulling would cause too much twist making his body slide sideways in the boat. At that angle it is impossible to do an effective hip flick. Even with all the foam we added, when wet it gets slippery allowing for some twisting. We had been taking video of his progression and attempts to see what was working and what what wasn't. My dad suggested that we make a copy for a friend of ours,
Bryant Burkhardt, who is a kayak instructor and instructor trainer so that he could take a look and possibly offer some suggestions. Unfortunately the DVD we made for him didn't work on his player and at the following session he was teaching so he didn't have the time to watch what we were doing. Last Thursday, however, he wasn't scheduled to teach so he dropped by just to take a look at KK2's progress and to offer some much appreciated tips. Thank you, Bryant!
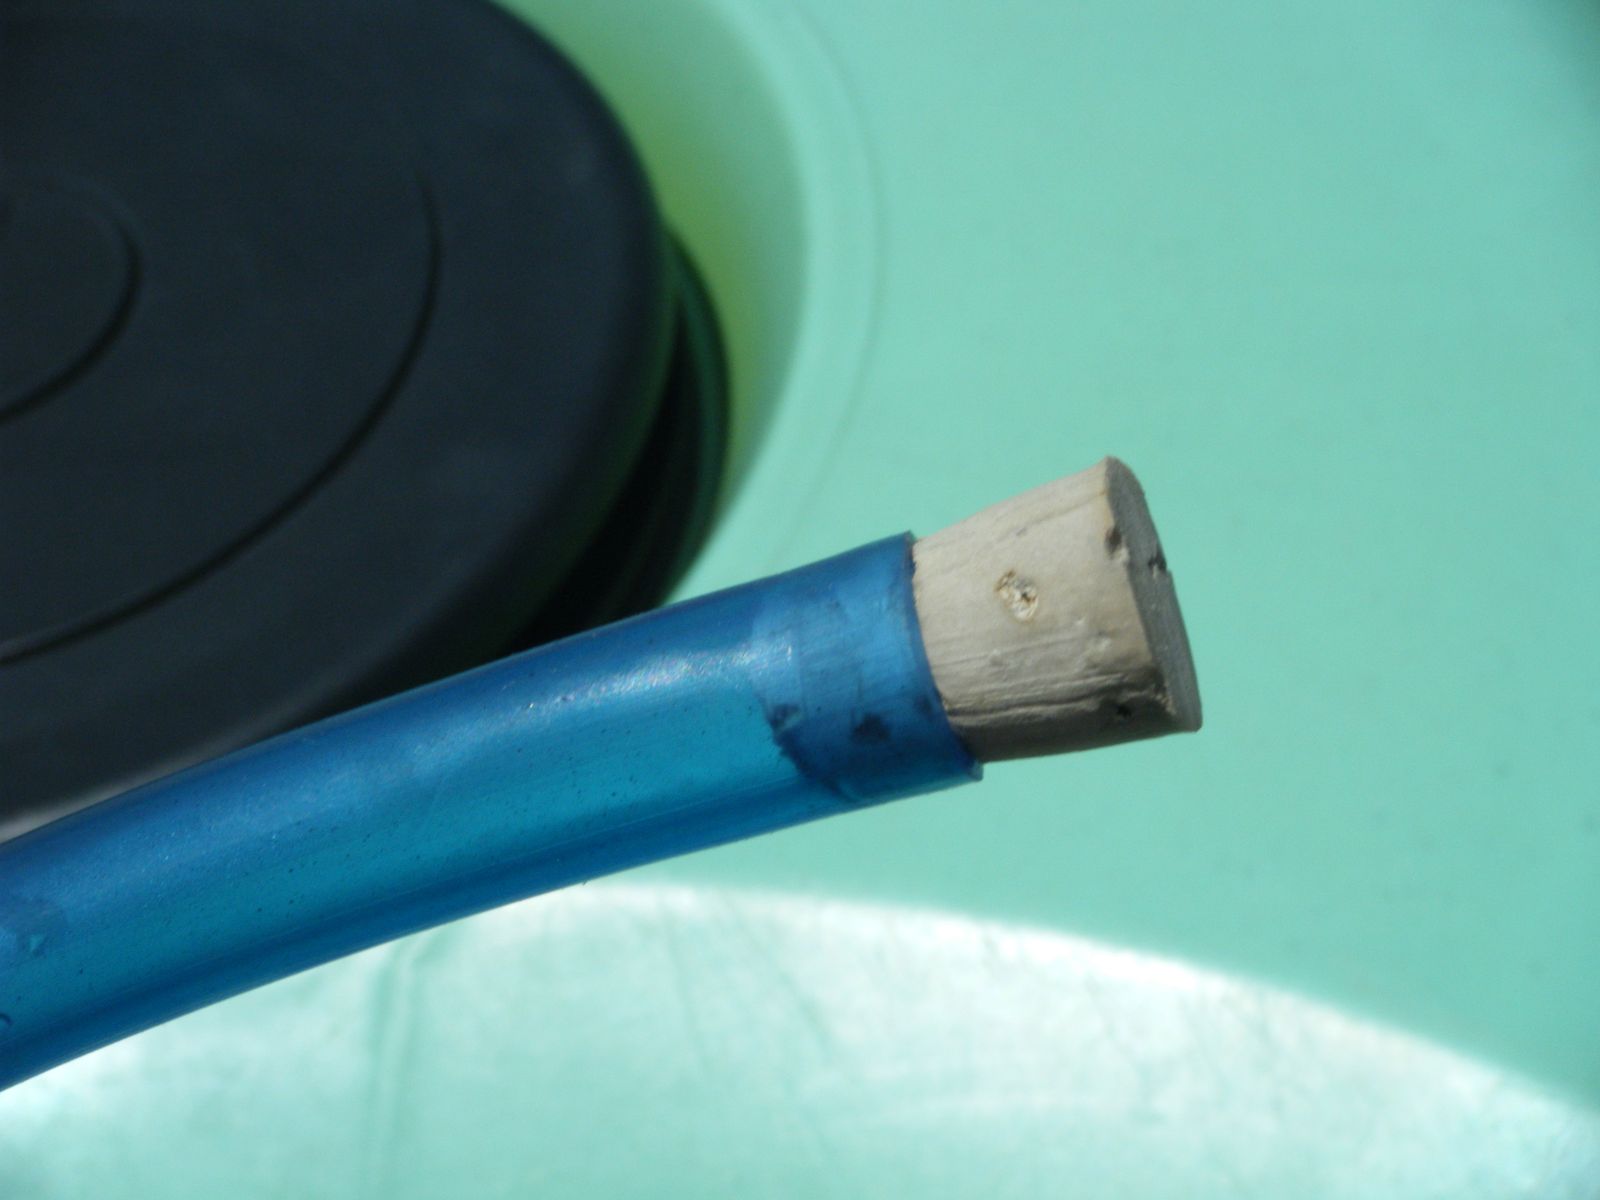
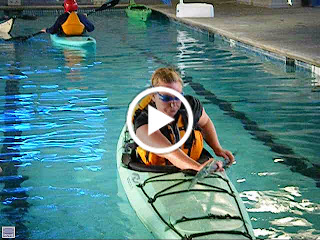
One suggestion was a storm roll which required deeper water and couldn't be tried in the 3 1/2 ft deep pool we were in. He suggested practicing using a paddle float to help him get the paddle to the surface and get the feeling for the motion of the paddle and the roll. We found he could do a sweep then brace to get up. Occasionally he still twists in the boat but has gotten very comfortable underwater and can now readjust himself then set up to try again.
After much practice, his rolls are smoother and he is using one quick fluid motion. Stay tuned because video of KK2's first roll unassisted will be coming soon! We just know he will finally get it and all of his patience and determination are finally going to pay off big time!